ROS2 Example Applications
This tutorial was created and is based on AWS RoboMaker as of July 2019. Please refer to the official documentation for the latest and most accurate information, as there may have been updates or changes since then.
ROSbot - introduction
ROSbot 2.0 is autonomous, open source robot platform. It can be used as a learning platform for Robot Operating System as well as a base for a variety of robotic applications such as research robots, inspection robots, custom service robots etc.
Unboxing
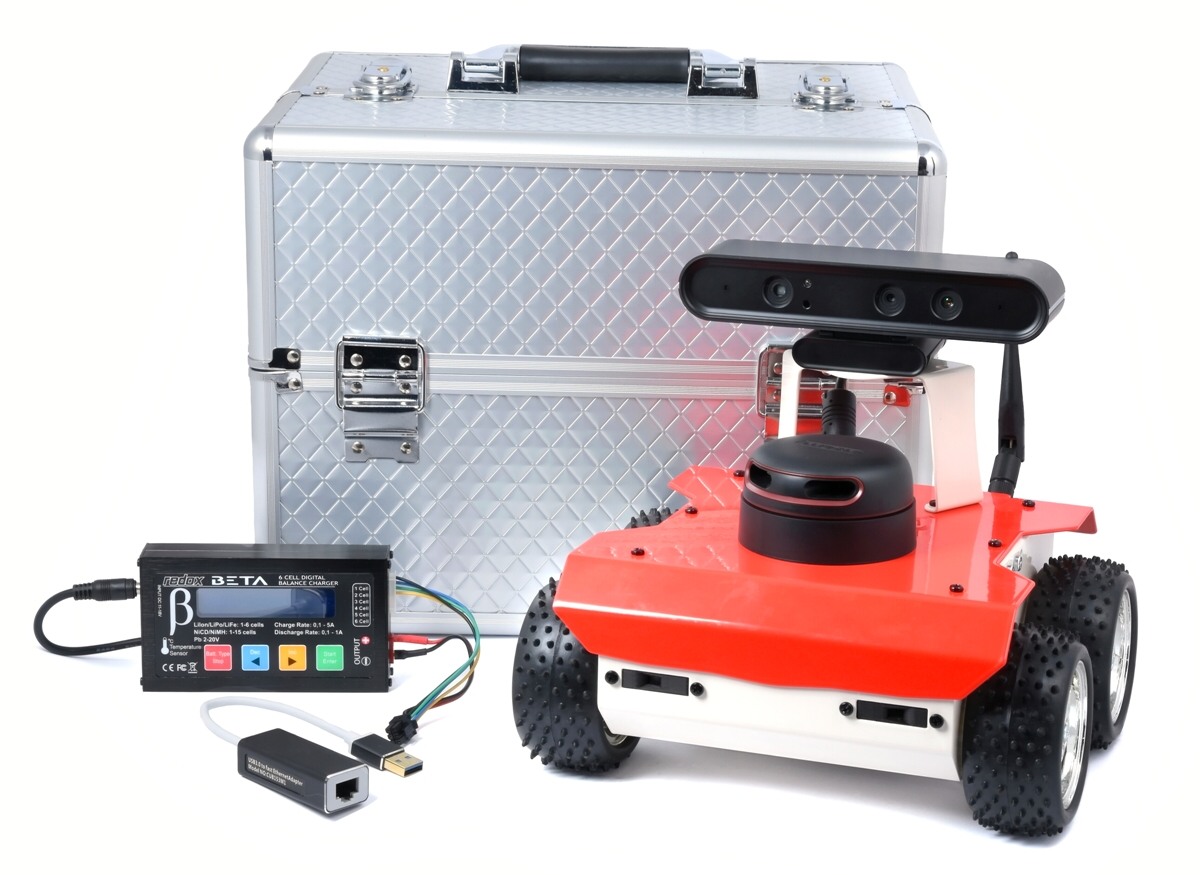
What's in the box:
- carrying case
- ROSbot 2.0 (with optional 3D camera and LiDAR already assembled)
- Wi-Fi 2.4GHz antenna
- 3x 18650 Li-Ion rechargeable batteries
- universal charger with power adapter
- charging cable
- microSD card with the software for ROSbot
- USB to Ethernet adapter
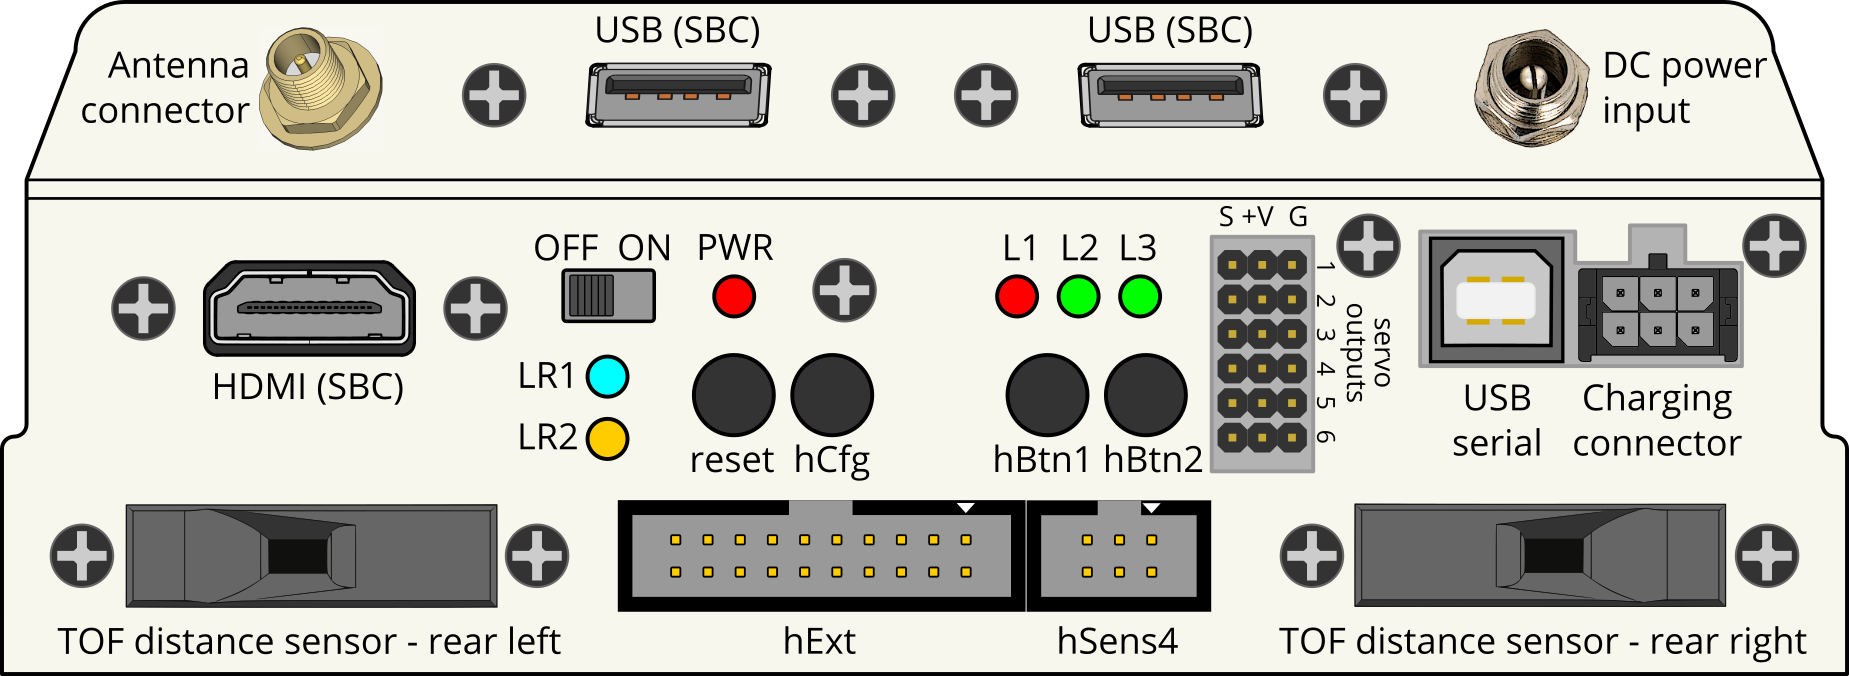
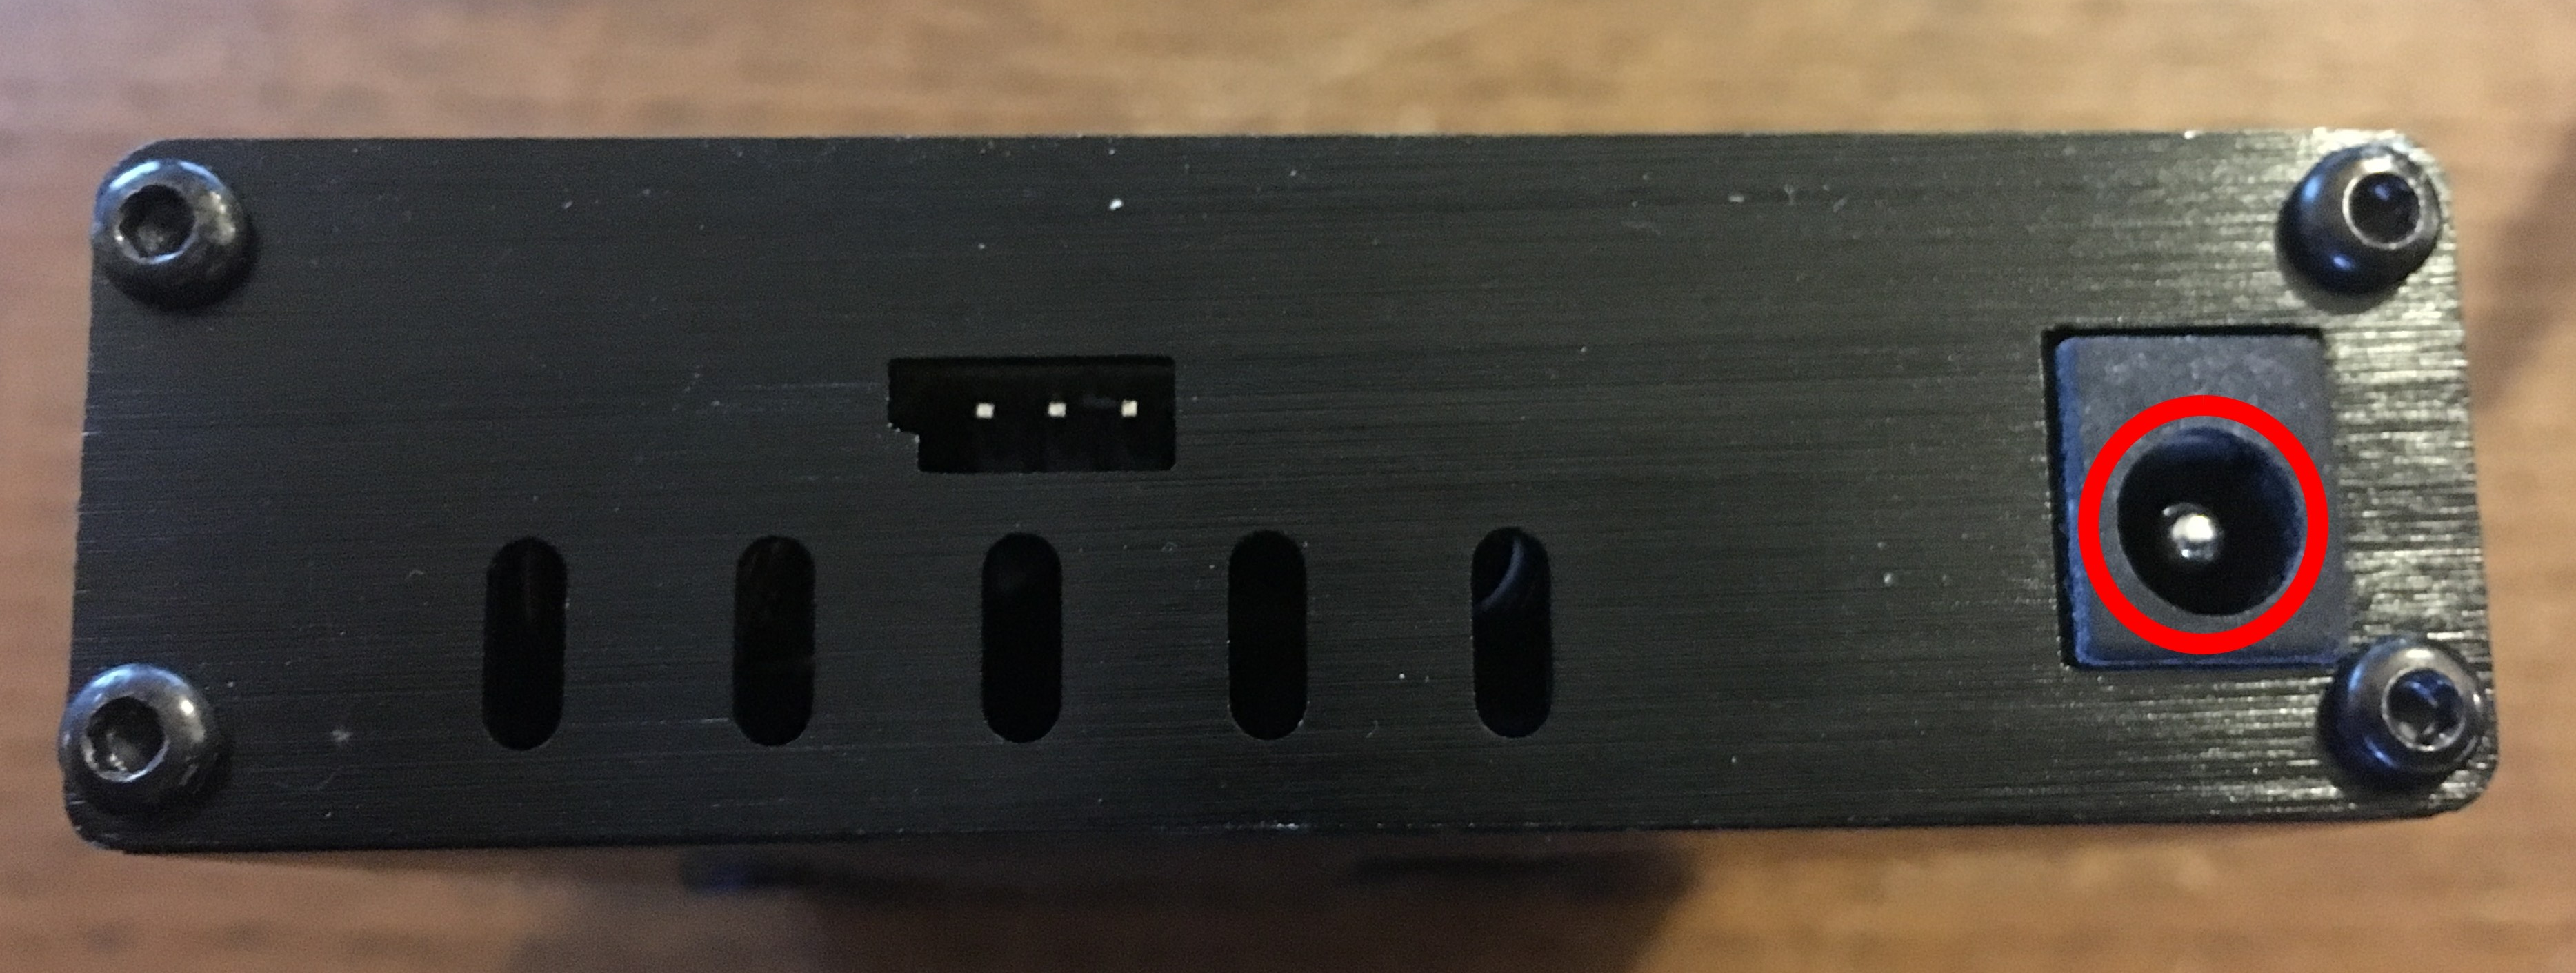
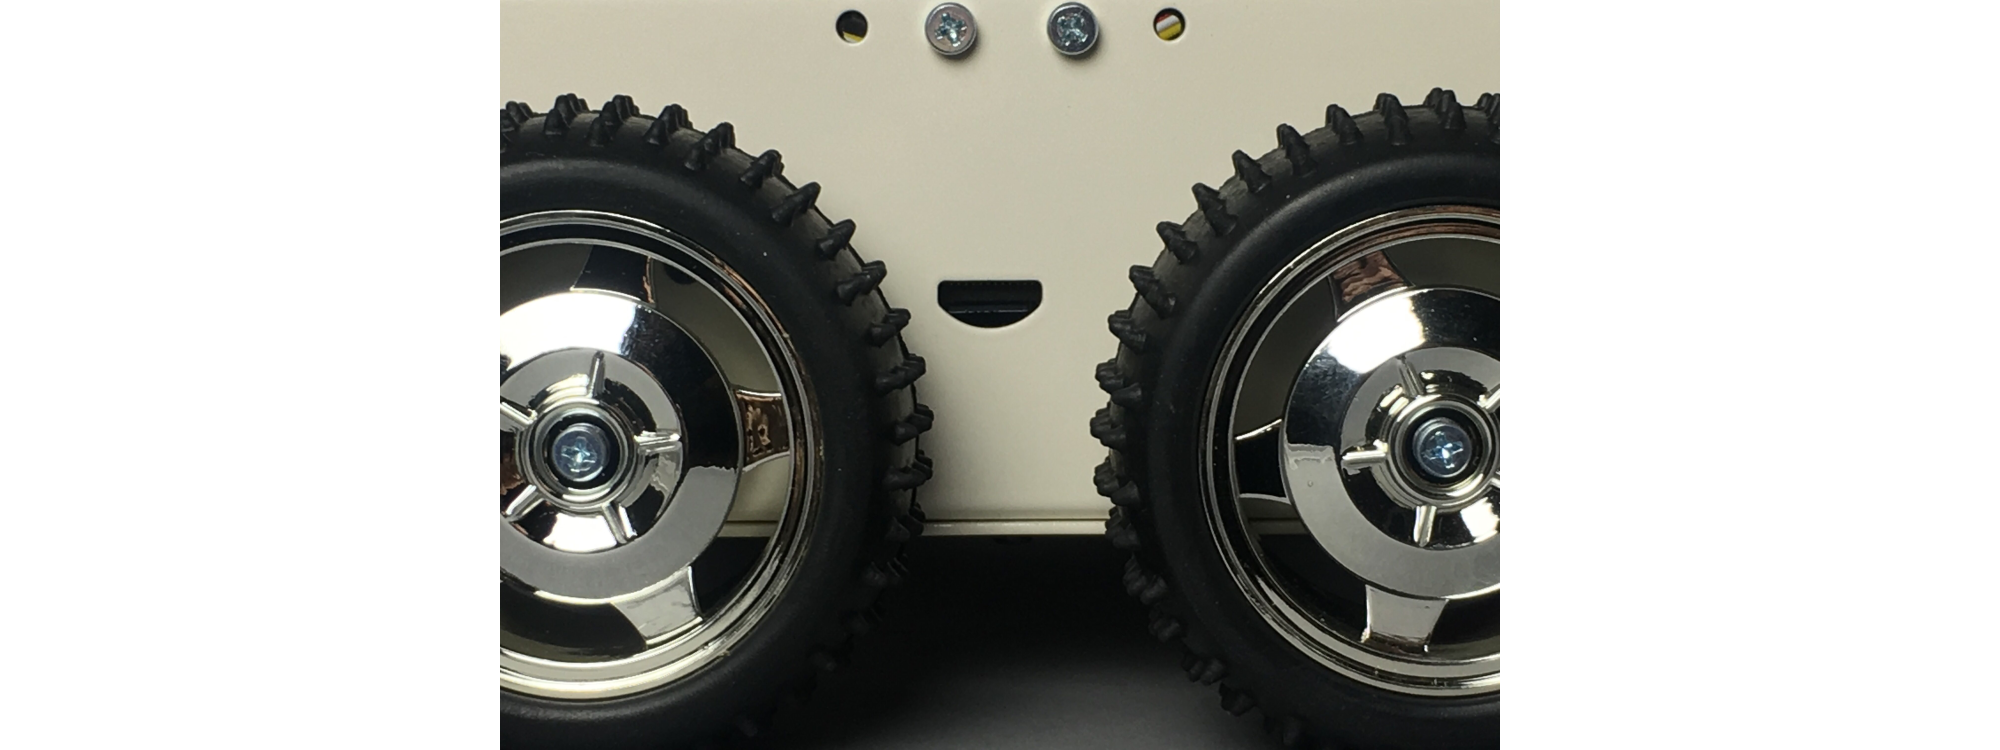
Rear panel description
In the picture below you can see names of the elements from the rear panel of the ROSbot.
Hardware setup
1. Mounting the batteries
Your ROSbot is assembled, but to get it ready to work, you need to provide a power supply and attach the antenna.
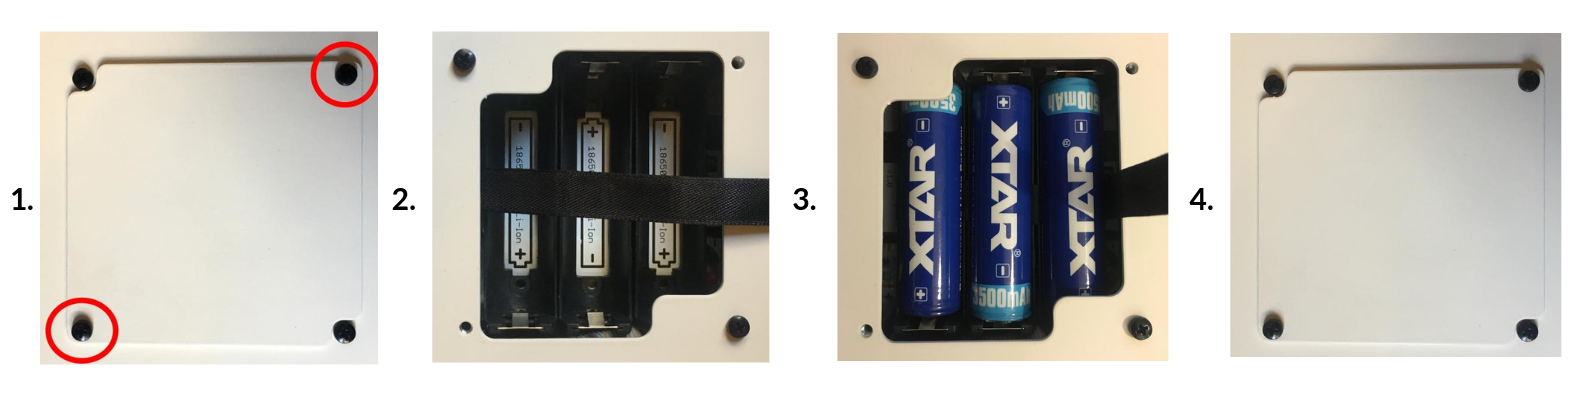
To mount the batteries turn ROSbot upside down and follow these steps:
- Unscrew battery cover mounted with two screws.
- Remove the battery cover.
- Place batteries accordingly to the polarization symbols (do it carefully!), keeping the black strip under the batteries.
- Place battery cover and mount it with screws.
2. Batteries charging guide
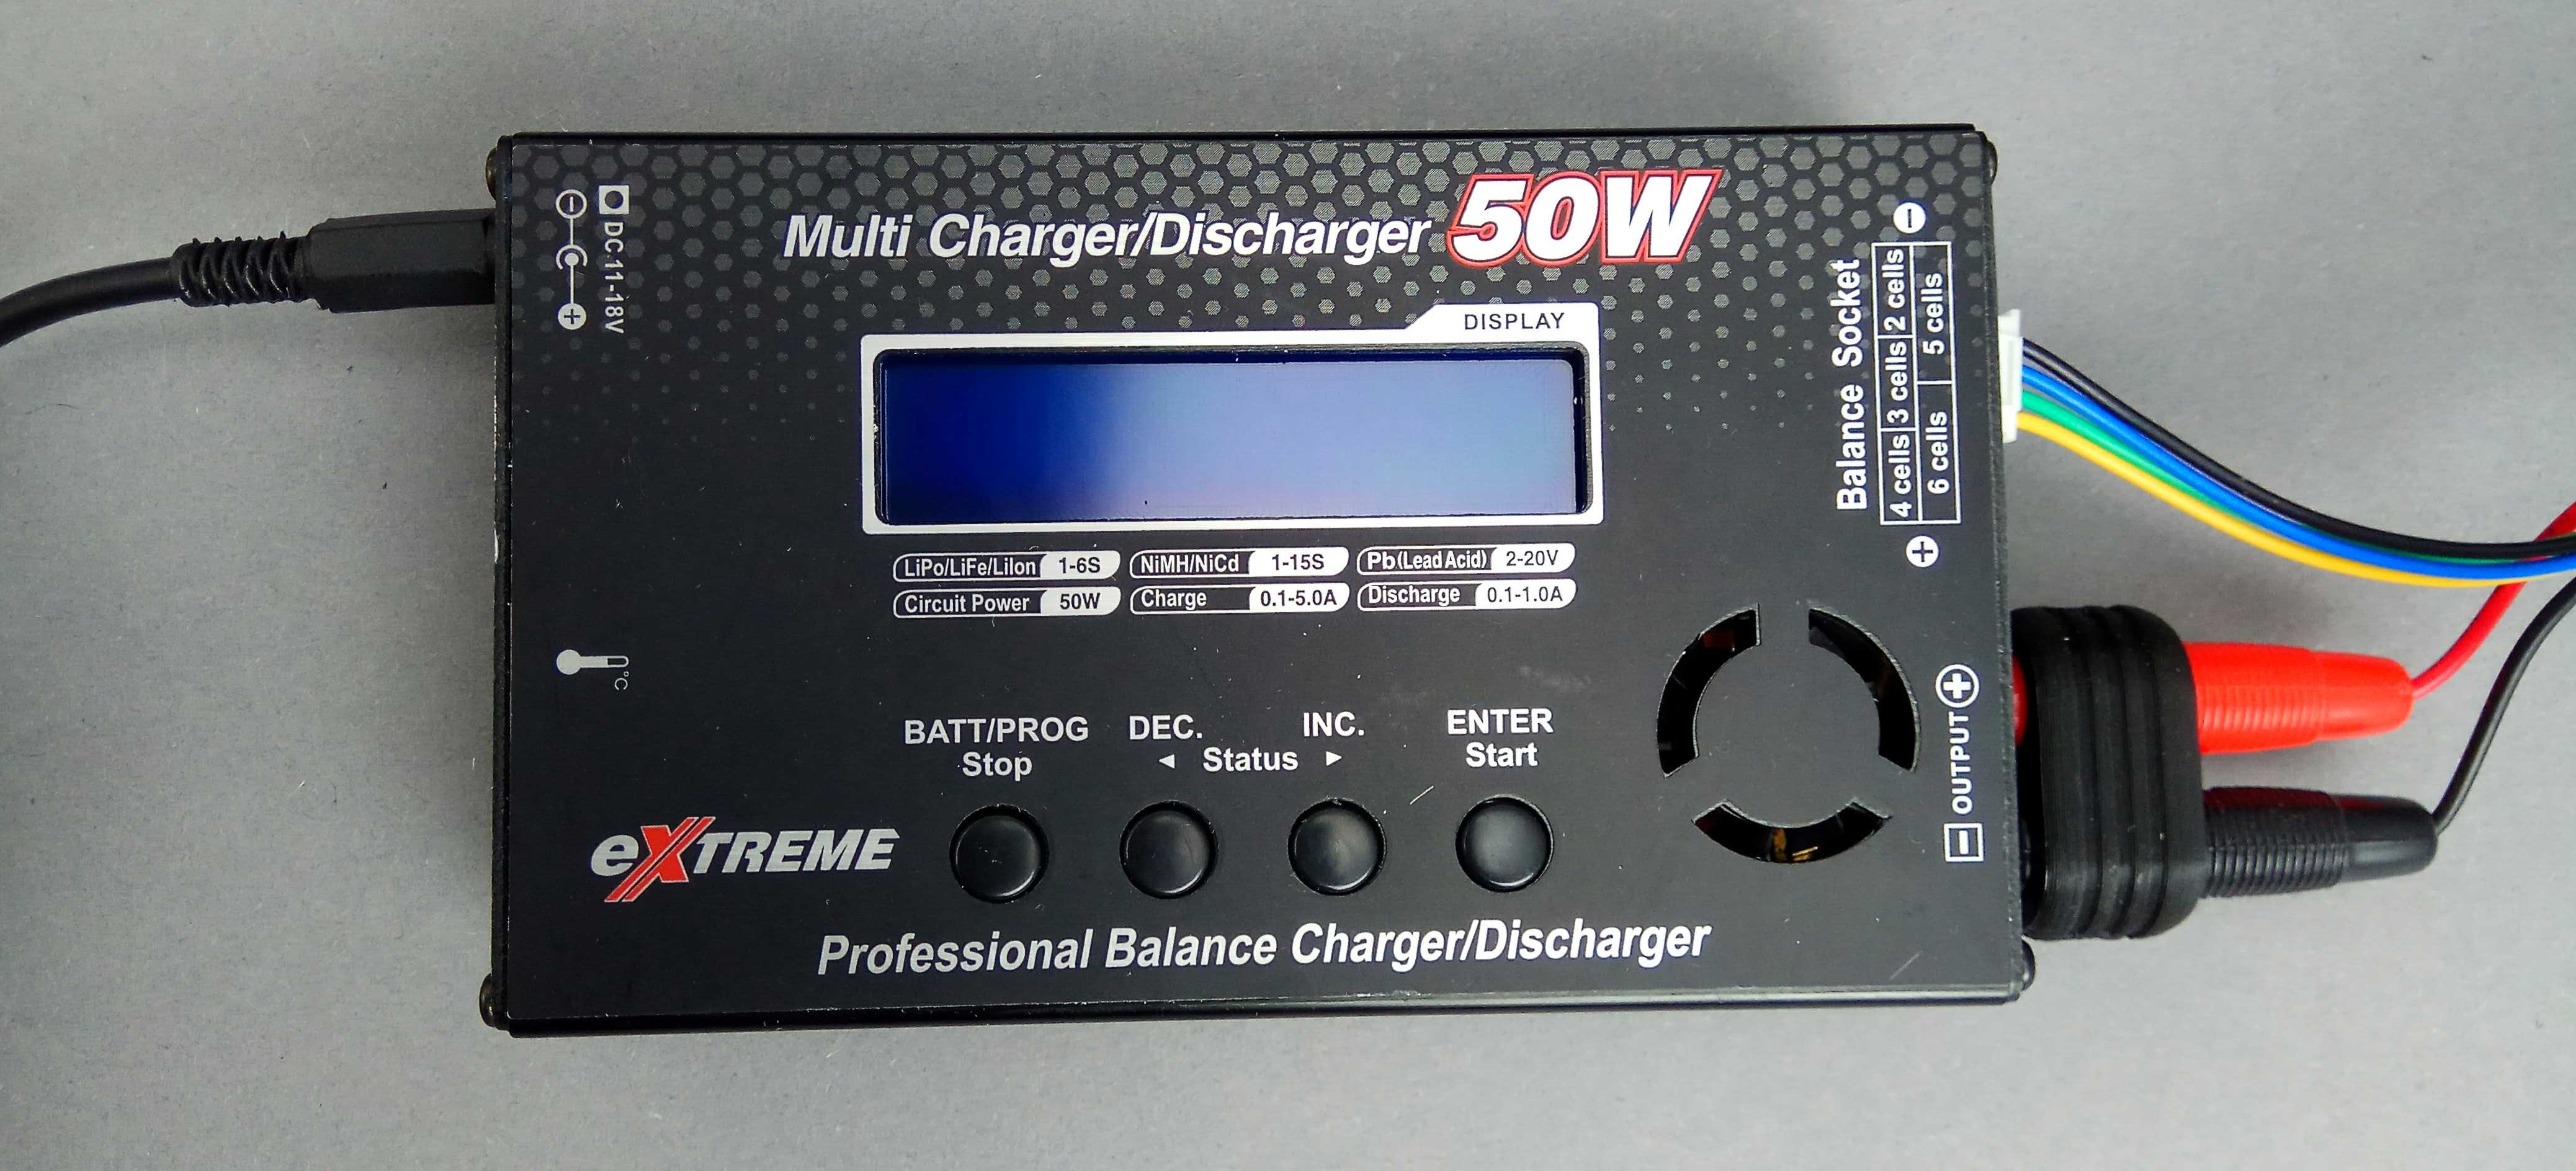
- Connect the power adapter to the charger and the output cable between charger and ROSbot (2 connectors on charger side, 1 black connector to ROSbot charging port).
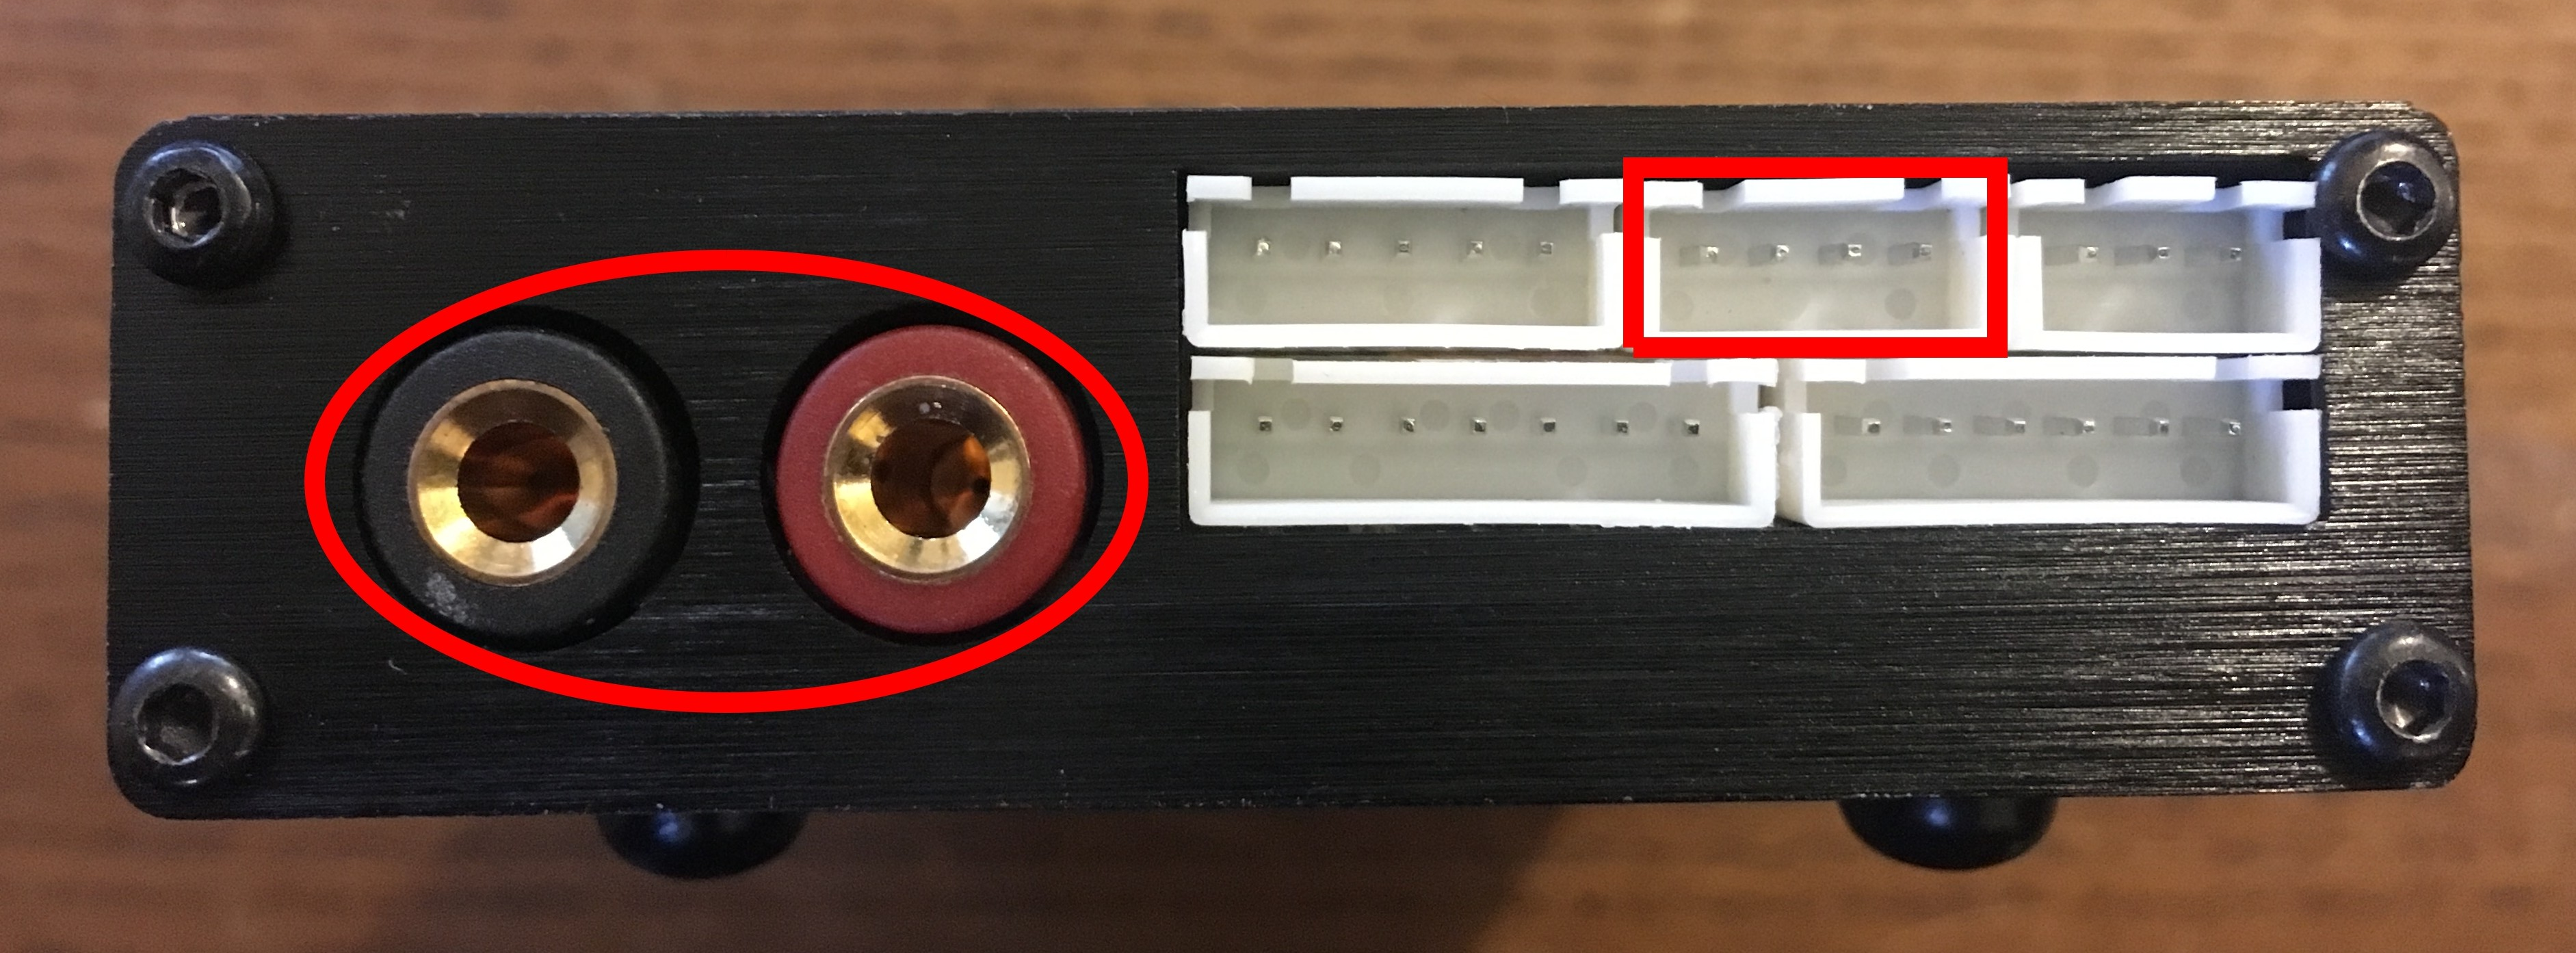
After this step is complete your charger should look like this:
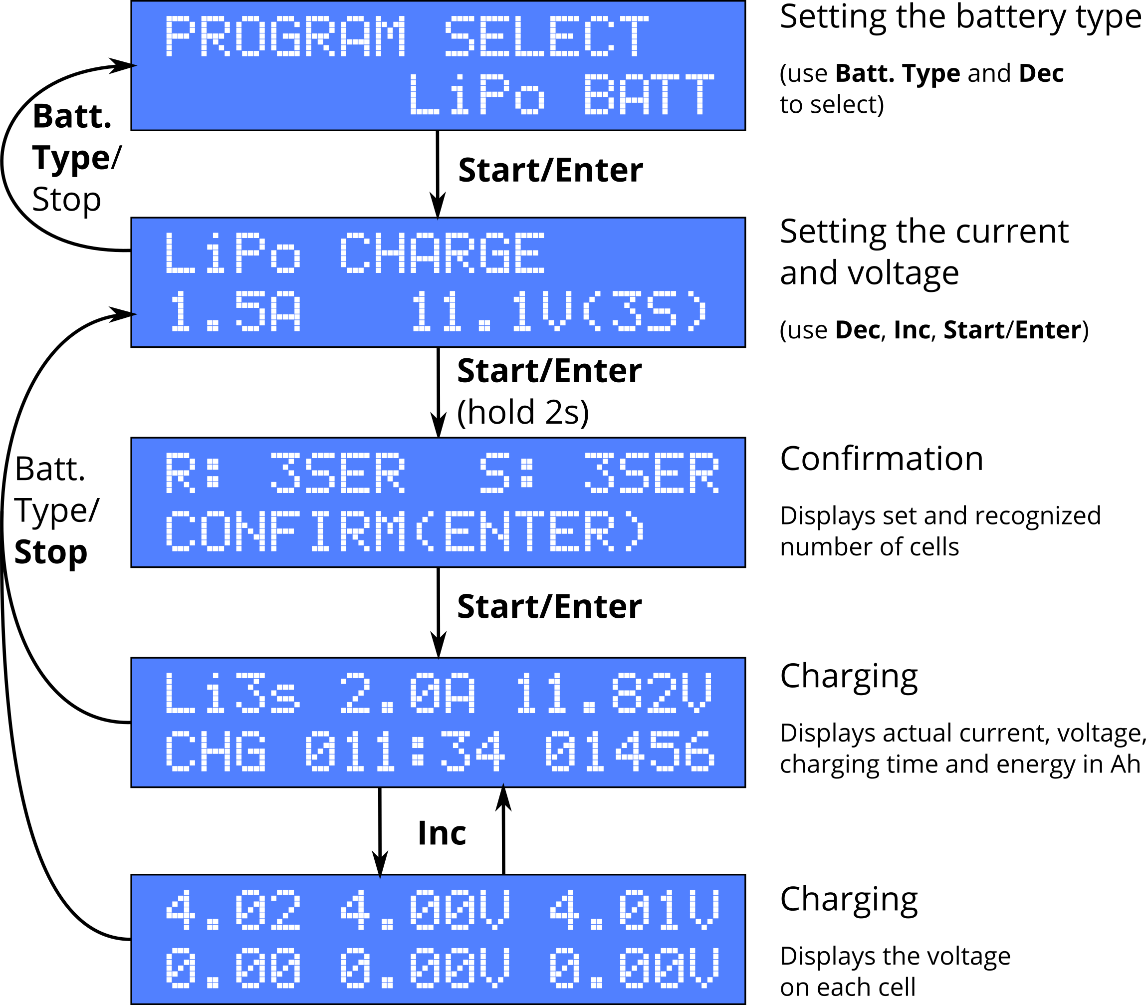
- Use the first two buttons to select “LiPo BATT” mode and press [Start] button.
- Use arrows to select “LiPo CHARGE” mode.
- Press [Start] - the current value should start blinking. Use arrows to set the current to 1.5A.
- Press [Start] again - the voltage value should start blinking. Select “11.1V(3S)” using arrows.
- Press and hold [Start] for 2 seconds. The charger should now ask for confirmation. Press [Start] again. The charging process should begin now.
- When charging is finished (after about 3 hours), the charger will generate a loud “beep” sound and will finish charging at the same time.
The picture below is a visualization of the mentioned steps.
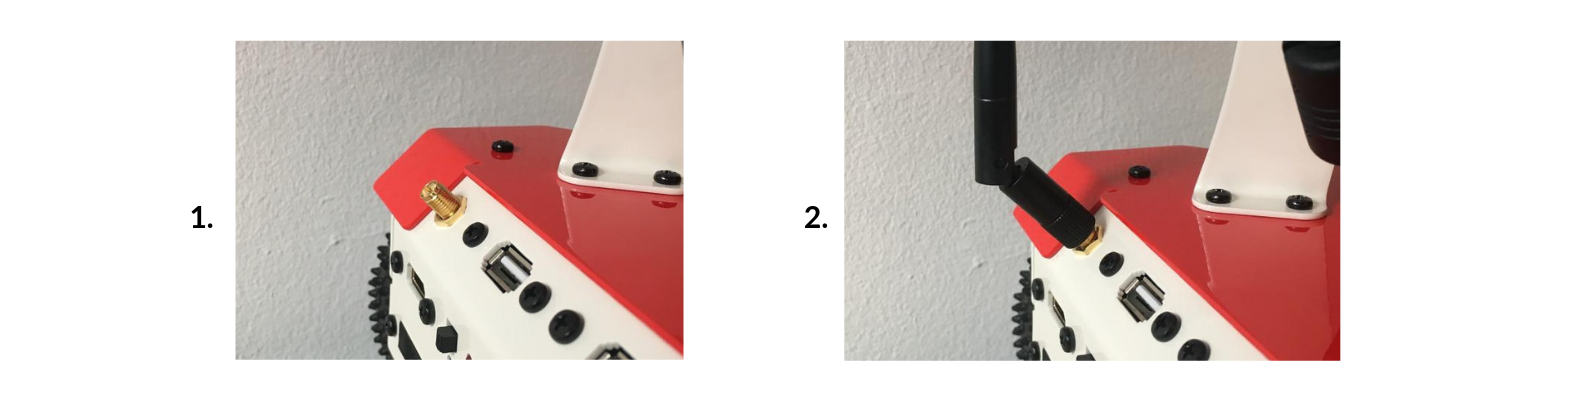
3. Attaching the antenna
To attach the antenna, screw it to the antenna connector on the ROSbot rear panel.
Flashing image with ROS2 support
ROSbots are shipped with ROS1 support. In order to enable working with ROS2 support, it is necessary to flash image with ROS2.
- Extract SD card from ROSbot, by pushing card carefully until it is released back by card holder, then pull it out. You can find SD card slot on ROSbot right side.
- Download image for Tinkerboard from here .
- Extract downloaded image (For this process we recommend using 7zip)
- Flash the extracted image onto SD card (For this process we recommend using Etcher but any image writing tool will be good):
- If you want to replace the included card, remember that you need to use at least 16 GB capacity and 10 speed class micro SD card.
- Download Etcher and install it.
- Connect an SD card reader with the SD card inside.
- Open Etcher and select from your hard drive .img file that you extracted.
- Select the SD card you wish to write your image to.
- Review your selections and click Flash! to begin writing data to the SD card.
- Wait until the process is finished.
- Use Unmount drive on linux on Remove device safely on Windows, wait until system confirms that you can unplug card reader.
- Insert SD card back to ROSbot
Troubleshooting
It may happen that process of flashing SD card will fail, this may prevent ROSbot from booting properly. Possible symptoms of faulty flashing process are:
- Blank screeen after powering up the ROSbot.
- ROSbot begins to boot, but freeze at some moment.
- ROSbot is booting into text-only mode.
- ROSbot is booting into graphical mode but it is not responding. If above signs are observed, it will be necessary to repeat card flashing process.
Connecting to Wi-Fi network
ROSbot is basically a computer running Ubuntu, so let's configure it like a standard PC computer.
- Plug in a display with HDMI, mouse and keyboard into USB port in the rear panel of ROSbot.
- Turn on the robot and wait until it boots.
- Use networking menu located on top-right of the screen to connect to a Wi-Fi network.
- When connection is active, use networking menu again and choose Connection Information to find device IP address.
- Note the ROSbot IP address, you will need it later.
Choosing the location
You can chose to work with AWS services on servers located in various location across world. You are free to choose the server closest to your location, although in tutorials we refer to us-east-1. Whichever location you will choose, you must keep it while following through the whole manual.
To choose location, go to AWS Management console and find location dropdown menu next to your username in top right corner. From the menu choose US East (N. Virginia) us-east-1.
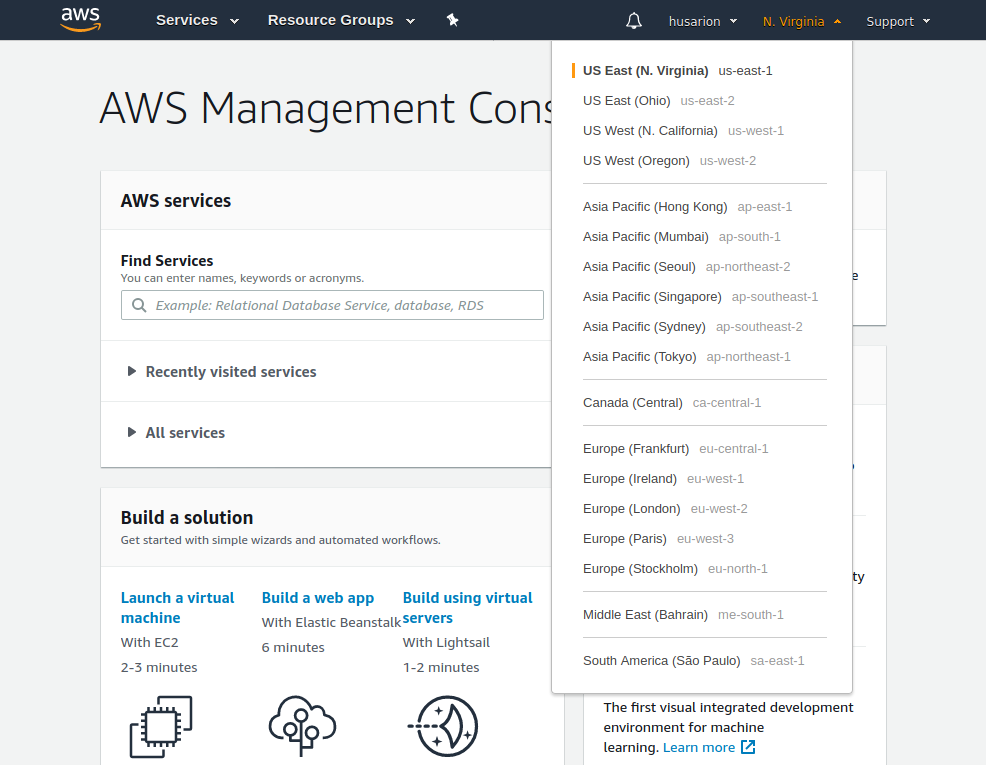
For more information regarding regions please check the documentation.
Configure AWS Environment
Before we use AWS RoboMaker to build and deploy the tutorial applications, we must first set up the AWS environment. To simplify the configuration, we will use AWS CloudFormation. CloudFormation enables us to use a template file to define the configuration of our environment. We will use CloudFormation to create a bucket in Amazon S3, as well as to create the necessary permissions in AWS Identity and Access Manager (IAM) that AWS RoboMaker requires to simulate and deploy our robot applications.
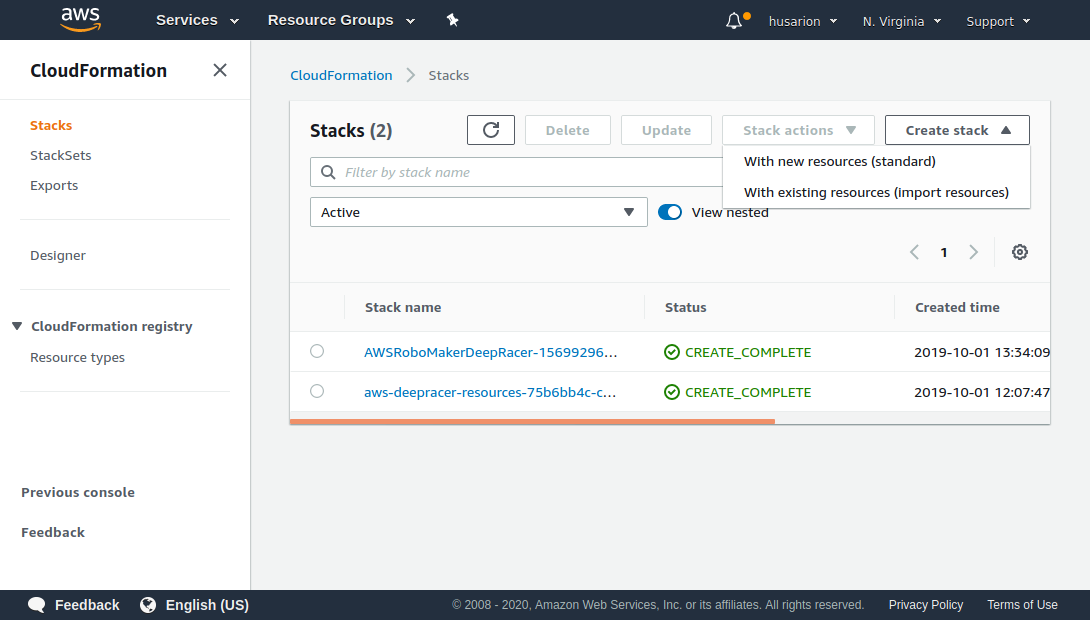
To deploy the template, sign in to the CloudFormation console. Follow the steps to deploy the template:
- Click the Create Stack button and select With new resources from the drop down.
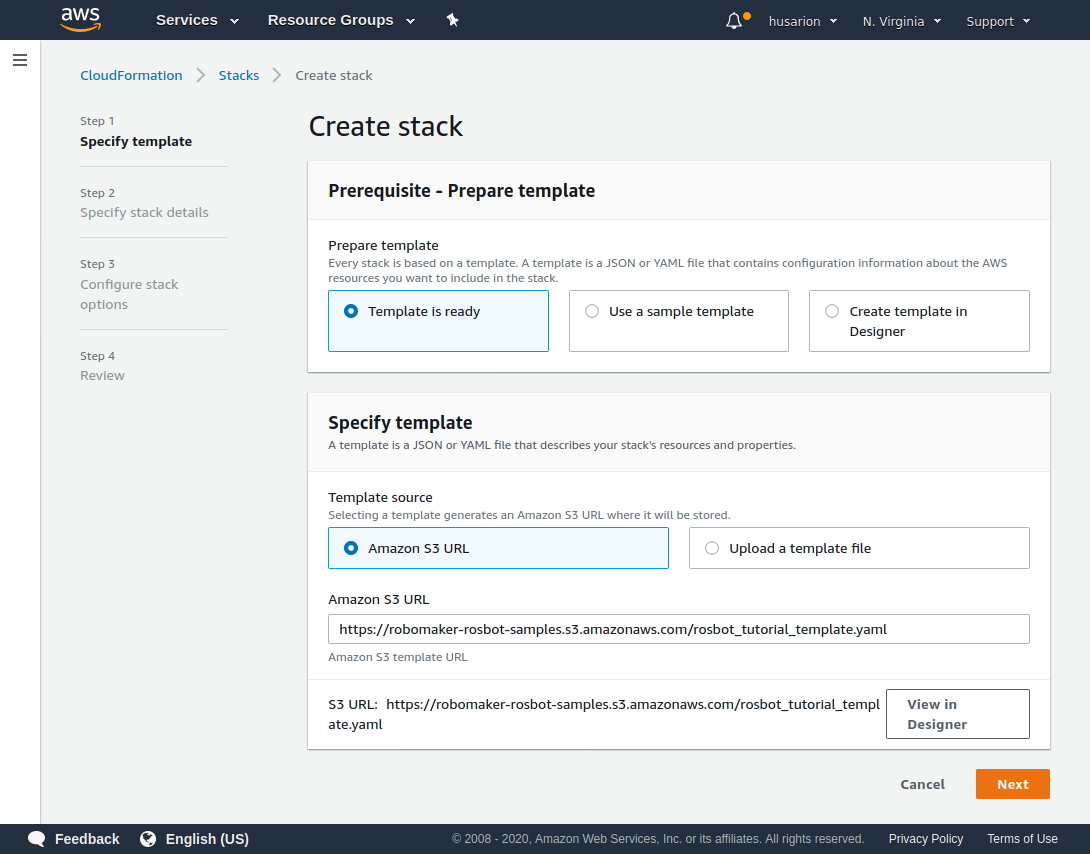
- In Step 1: Specify template in section Prerequisite - Prepare template select Template is ready, then in section Specify template select Amazon S3 URL and type in the following text field: https://robomaker-rosbot-samples.s3.amazonaws.com/rosbot_tutorial_template.yaml . Proceed with Next button.
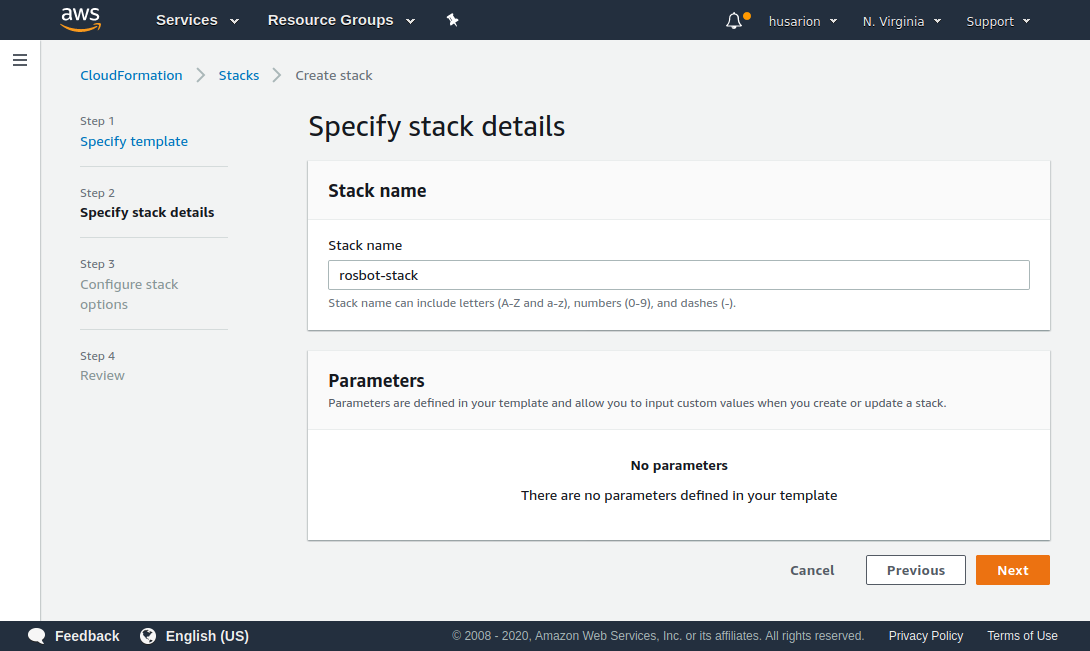
- In Step 2: Specify stack details in section Stack name type rosbot-stack , then proceed with Next button.
- In Step 3: Configure stack options leave all settings default and proceed with Next button.
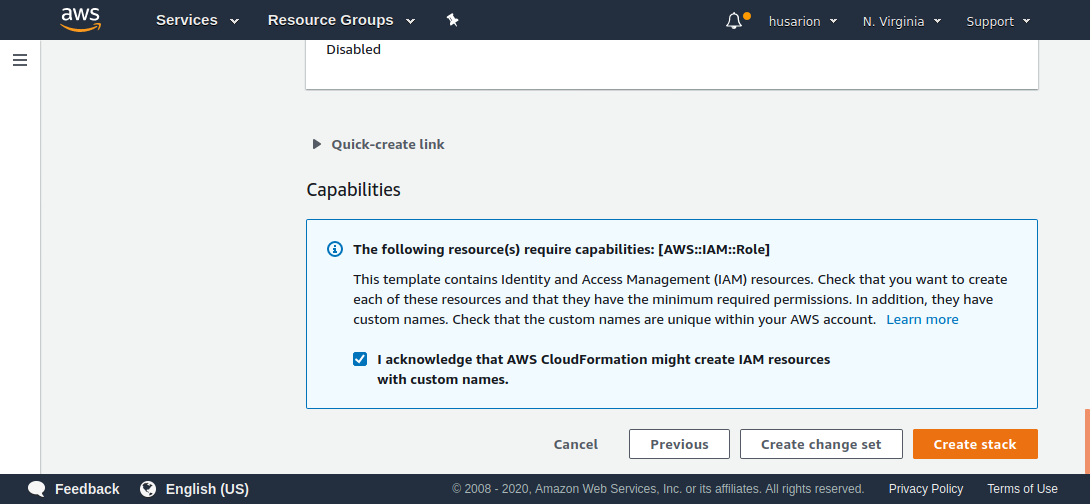
- In Step 4: Review scroll to last section named Capabilities then check I acknowledge that AWS CloudFormation might create IAM resources with custom names.. Proceed with Create stack button.
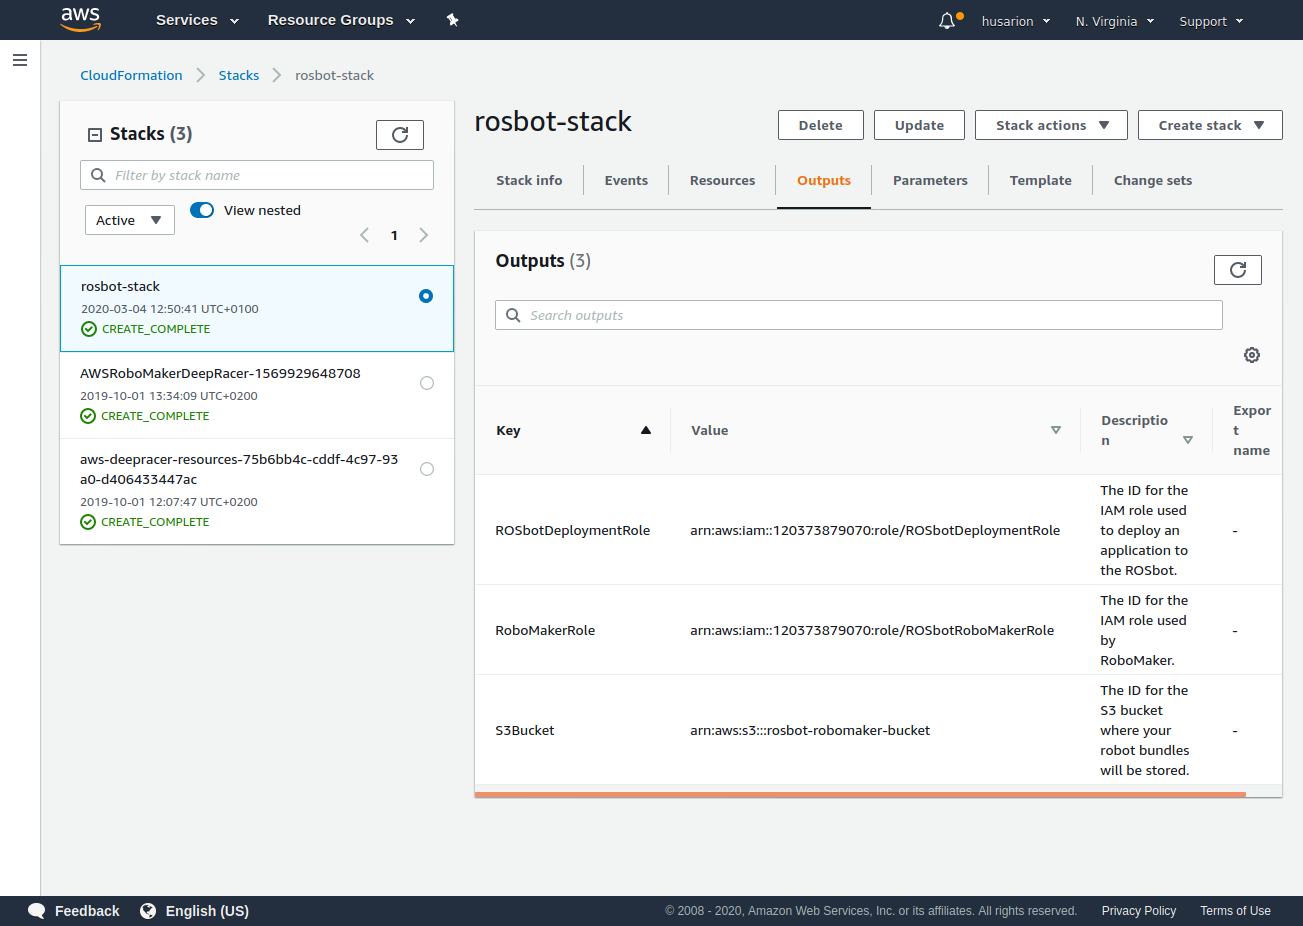
- You will be redirected to stacks list, wait until your stack is created.
- When stack creation is finished, click stack name to open its details, then choose tab Outputs, in the table you will see three rows, note the three Key/Value pairs as you will need them later in this guide.
ROSbot setup in RoboMaker
ROSbot need some system modifications before Greengrass will be able to run and deploy applications. To configure ROSbot:
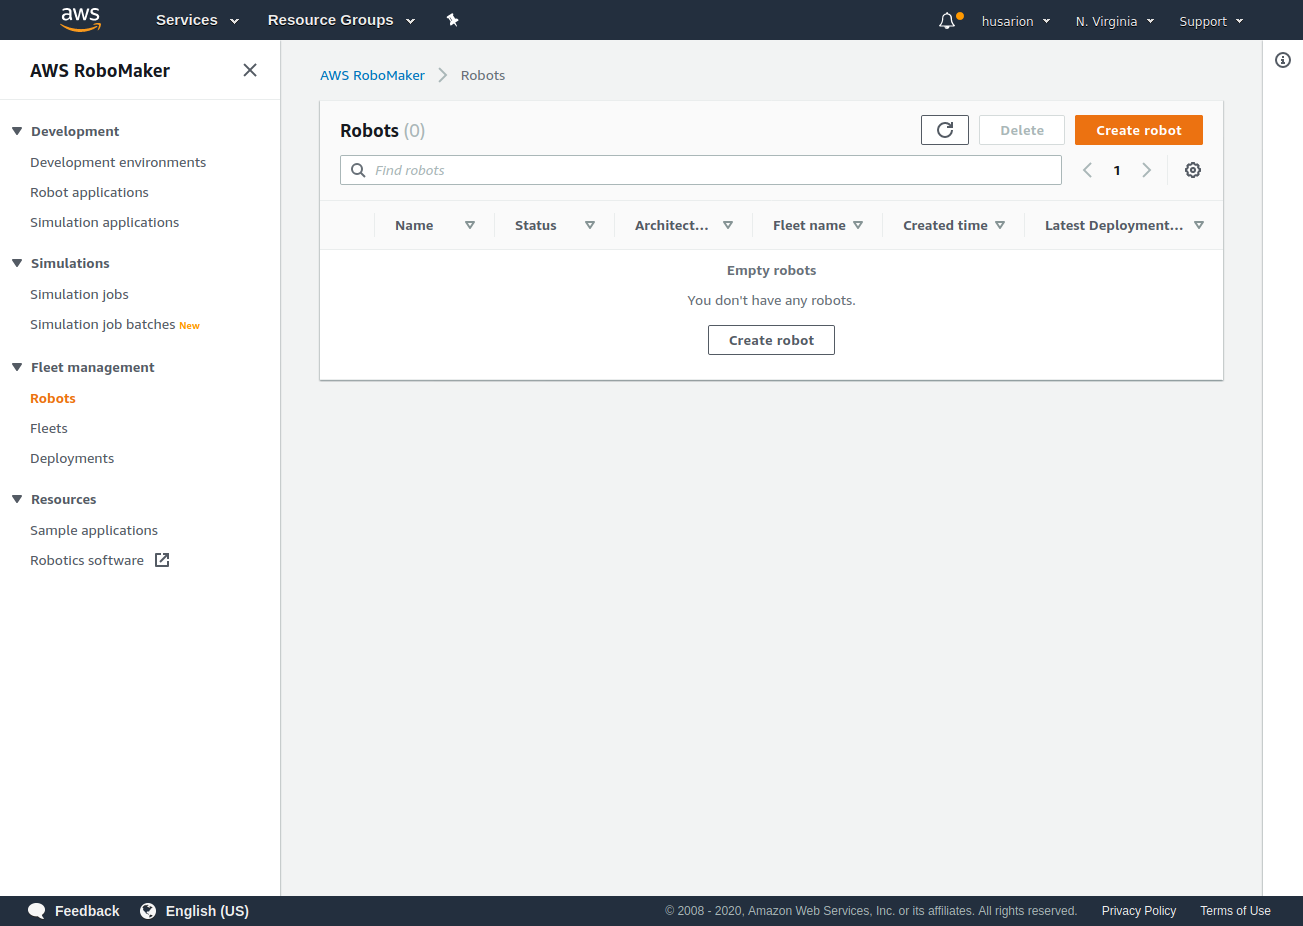
- Sign in to the AWS RoboMaker console.
- In the left navigation pane, choose Fleet Management and then choose Robots.
- Choose Create robot.
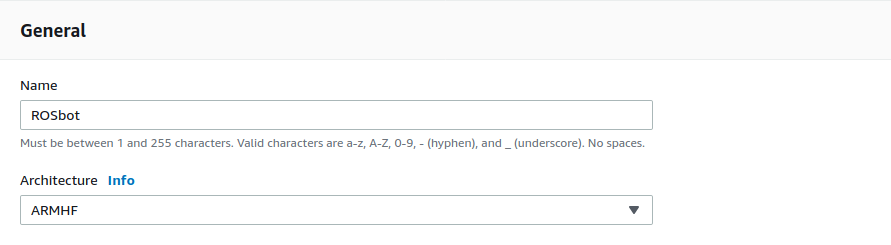
- In section General:
- In the Name field, type ROSbot .
- From the Architecture dropdown menu choose ARMHF.
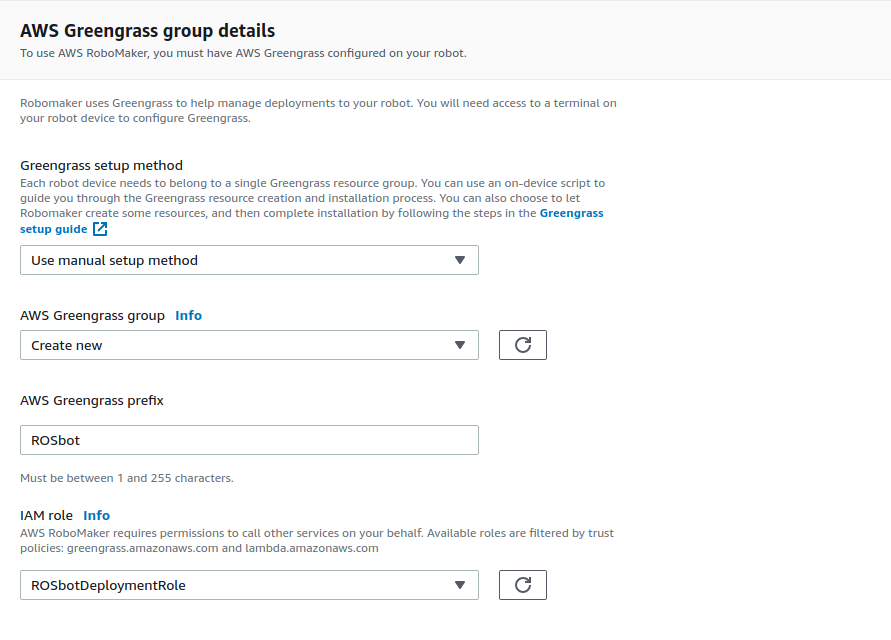
- In section AWS Greengrass group details:
- From the Greengrass setup method dropdown menu choose Use manual setup method.
- From the AWS Greengrass group dropdown menu choose Create new.
- In the AWS Greengrass prefix field type ROSbot .
- From the IAM role dropdown menu choose ROSbotDeploymentRole.
- Proceed with Create, you will be redirected to Download your Core device page.
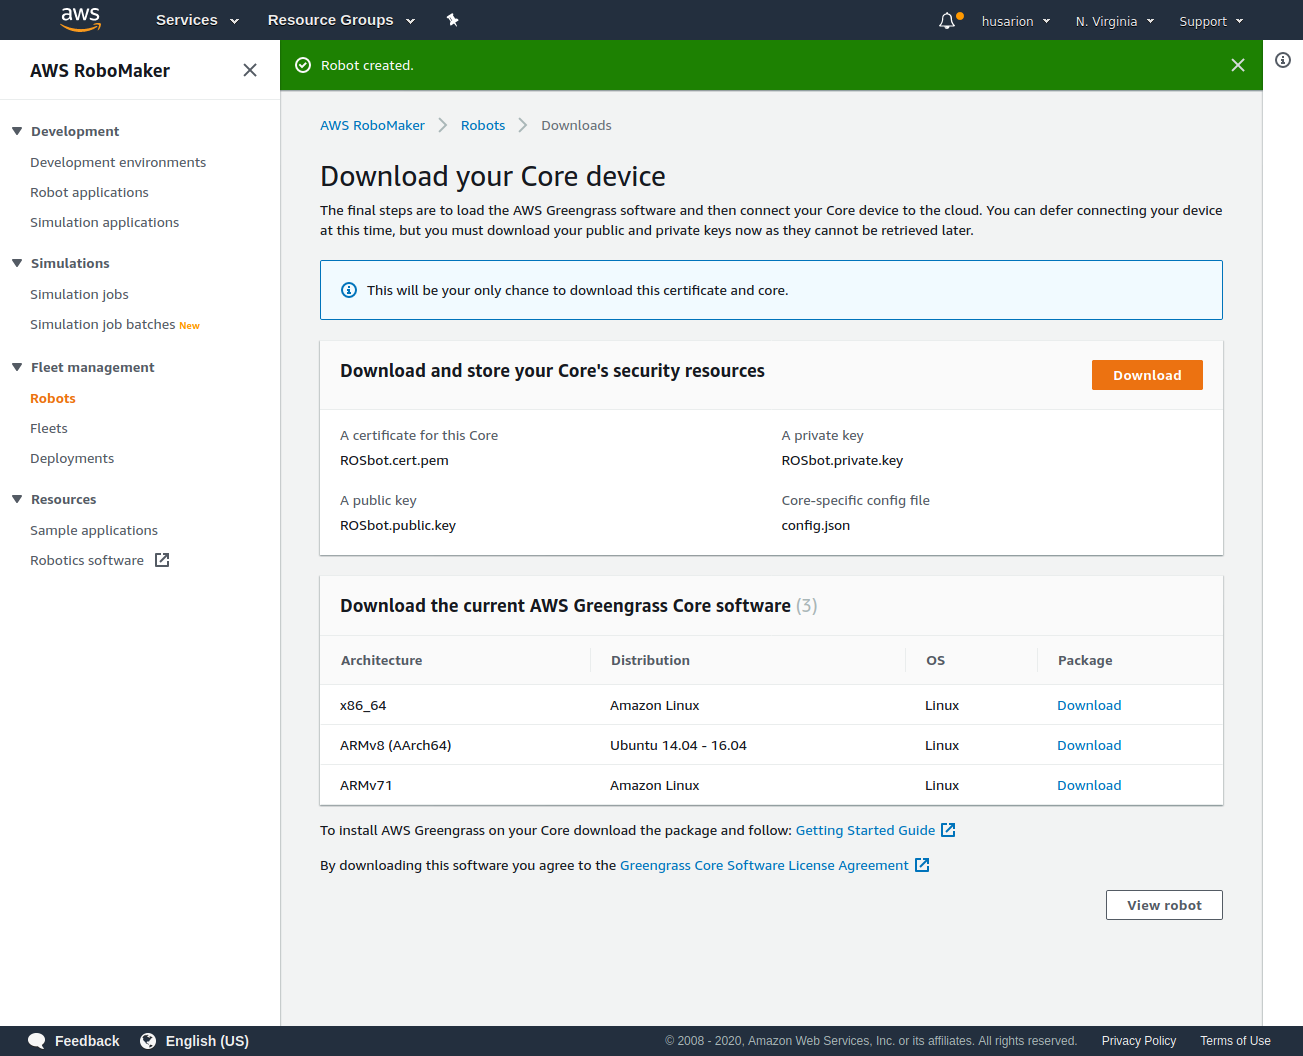
- Choose Download button next to Download and store your Core's security resources, you will get ROSbot-setup.zip file.
- File needs to be uploaded to ROSbot. The upload process will vary, depending on your host operating system.
On Linux
Navigate to directory where the file is downloaded, by default it should be ~/Downloads .
cd ~/Downloads
